Add images and files to a page.
Add a file
-
Open the page in the editor.
-
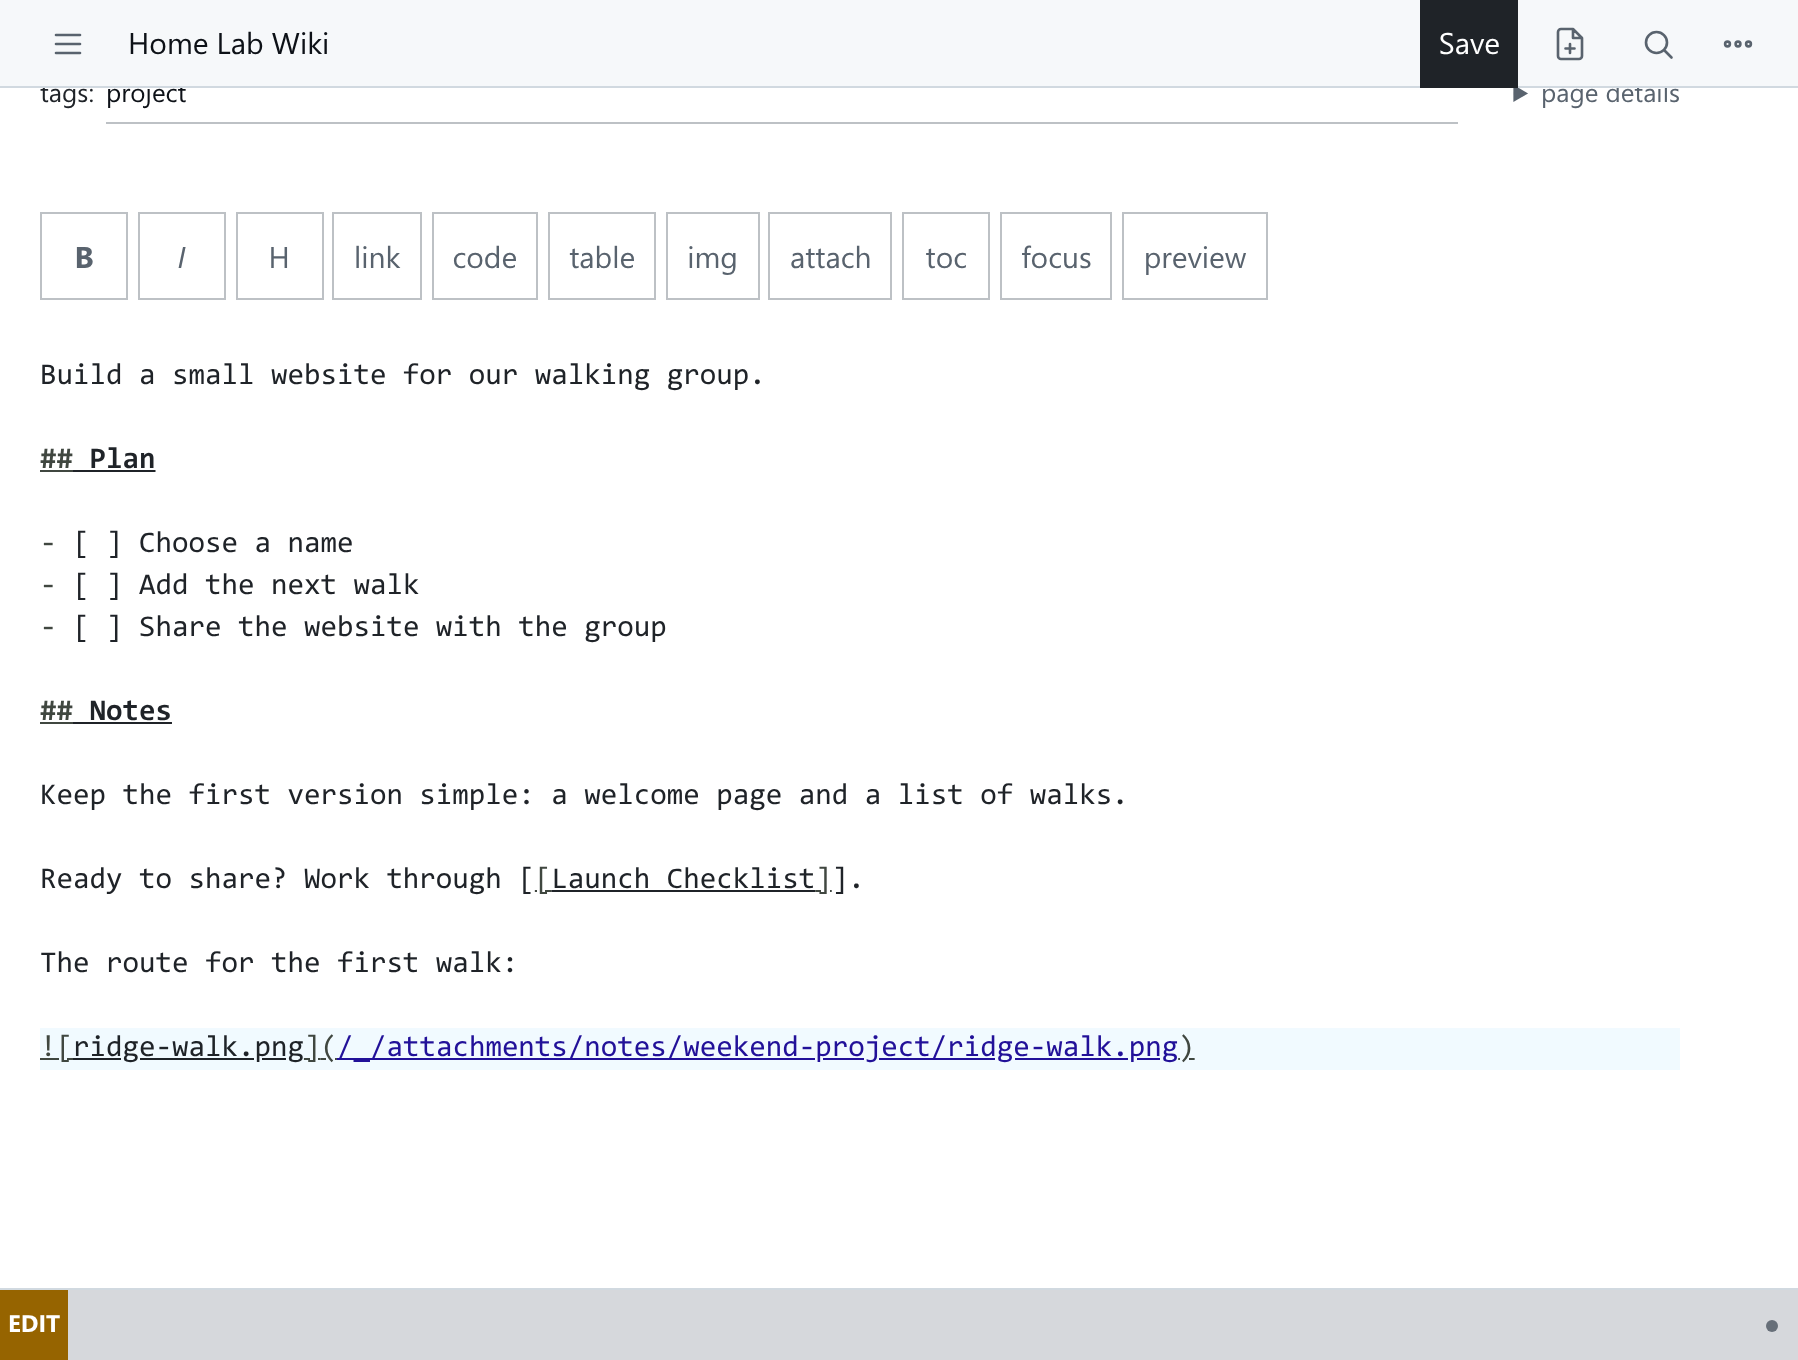
Click attach and choose a file. You can also paste or drag an image straight into the editor.
-
HMD uploads the file and inserts a link where your cursor is. Images show on the page; other files are offered as downloads.
-
Save the page. Uploading does not save it for you.
Good to know
- Files can be up to 10 MiB unless your administrator changed the limit.
- PNG, JPEG, GIF and WebP images display on the page. Everything else, including SVG and HTML, downloads instead.
- An attachment belongs to its page and has the same visibility: anyone who can read the page can open the file.
- Renaming or moving a page leaves its attachments where they were; existing links keep working.
- Each upload is saved in the page's history.
Search inside files
Search covers the text of .txt and .md attachments. PDF, Word and other documents are searchable only if your administrator has turned on document search (Settings → Document search, see Configuration). Otherwise they are stored but not searched.
Move attachments from older versions
Older versions of HMD kept attachments in one shared folder. If yours did, administrators see an Attachments need attention banner until the files are moved or, for a deleted namespace, deleted.
- Update every HMD instance that uses this wiki's content first.
- Open Settings → Wiki, which lists each namespace with files to move.
- Click Move attachments. Links do not change.
Files belonging to a namespace that has since been deleted cannot be moved; delete them from the same list. Dismissing the banner hides it only until you next sign in.